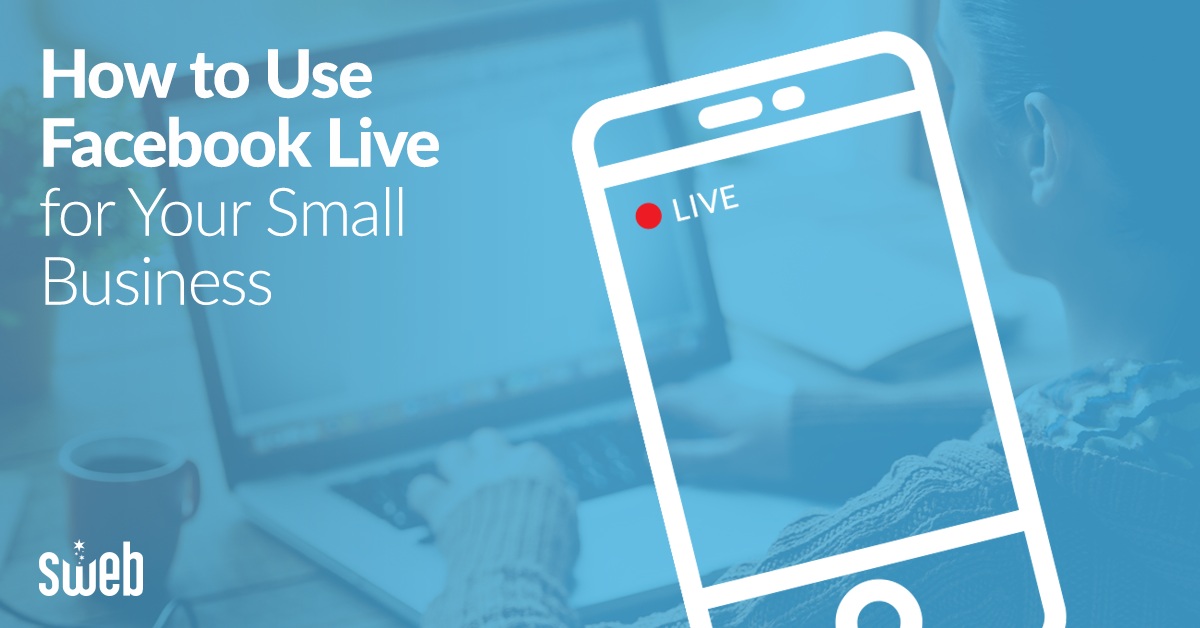
You’ve heard that video is king on social right now, and it’s no secret that social media giant Facebook favor’s its own Facebook Live over other native video content. Anyone can go live and share their thoughts, ongoings, special events, or even just their dog doing silly tricks. So how does this tool translate for social media marketing? What are best practices for maintaining your brand while relating to customers? And how do you ensure that you don’t just end up talking to yourself on screen? Here at Sweb we regularly help clients stream live events and have some thoughts on how best to use Facebook Live for your small business.
Brainstorm Relative Topics
Before you go live, you want to be sure you have something relevant to share with your followers. You can use it as an opportunity to answer FAQs, provide your expertise on a certain aspect of your business, or just stream a live workshop or speaking engagement. You’ll also want to consider whether this is a part of a larger marketing effort–is there a call to action you want to give people watching, or are you more focused on building trust and putting a face to your company?
Schedule and Announce Your Livestreams
Once you have your topics you’ll want to schedule and announce them ahead of time to reach the most people. You can certainly go live spontaneously, but having a plan in place will help you make the most of your time and effort. Some easy ways you can do this are by creating graphics to boost or advertise within Facebook itself, or sending out an email to your newsletter list. You basically want to make it as easy as possible for people to catch you when you do go live. Let them know the date, time, and topic of your livestream–and tell them how to signup for notifications of your live posts on Facebook. And be sure to send out another round of reminders the day of your Live event–using both Facebook and email again.
Gather Your Equipment
Until recently you could only broadcast live from Facebook’s mobile app, but they’ve since added the option to broadcast from your desktop as well. Either way, there are some basic things you’ll need for a successful broadcast:
- An iPhone, Android, or desktop/laptop with a camera and built-in microphone (and power cords)
- The Facebook or Facebook Page Manager app on your phone
- A tripod and phone holder
- A laptop–even if you are broadcasting via mobile, we recommend having a computer at hand to both monitor the live video within Facebook, and also to keep your phone powered (you don’t want to run out of battery midstream).
- A strong wi-fi signal–especially important if you’re on location–using a phone gives you the option to stream via your provider if wi-fi is weak.
- Discussion notes
- Optional: A lighting kit and external microphone
Do a Test Run
If you’re brand new to Facebook Live, then it’s a good idea to do a test run (or two) to ensure you know how to use the platform and to work out any kinks beforehand. Unfortunately all Live videos are automatically public, but you can record yourself using the regular camera on your phone if you just want to run through your talking points. You can also set up a separate Facebook page without any followers to test out exactly how Live video works.
Go Live
So you’ve notified your followers about your scheduled broadcast and it’s time to go live! Make sure you title your video, that way people who don’t already follow you are more likely to stumble across your awesome content and join in. When you select “Go Live” Facebook will give you a three-second countdown before your broadcast actually begins–something to consider if you’re filming a live event.
If you plan to interact with your live viewers, be sure to have something to start talking about while you’re waiting for viewers to join in. This is where having your discussion notes will come in handy. If you’re able, answer viewer questions out loud during your video or have someone moderating the comments from the computer right there with you.
And regardless of how many live viewers you have, know that your video will still be available for those who didn’t catch the live broadcast. So don’t fret if you don’t have dozens of viewers the first go-around.
Livestream Follow Up
When you’re done with your Facebook Live video, there are a number of things you should do. First, you should go in and edit the video post. Going back and giving your video a title and video tags will help make it searchable within Facebook. You also have the ability to select the still image that appears on your video page, or you can even upload a custom image–a great option for integrating some graphic design.
Second, you can create custom audiences based on the people who viewed all or part of your video. Facebook has a great how-to on creating custom audiences from video views here. If you had a call to action during your video you can direct ads to those viewers, or encourage them to watch future videos.
You also have the option to boost your video after broadcasting–which is another great way to increase engagement and awareness for your small business.
This is just a basic overview of how you can use Facebook Live for your small business, and we highly recommend taking advantage of this free tool!
Read our article about 5 Tips to Maximize Your Facebook Cover Photo